
7 Essential Steps for Cleaning Laser Cutter Optics Every Single Day
Maintaining the optical path of a laser cutter is the single most critical daily task for ensuring consistent cut quality and extending the lifespan of your equipment. At Kern Lasers, we emphasize that a clean optical system is the foundation of high-performance manufacturing. Daily optical cleaning prevents beam distortion, reduces power loss, and protects expensive components from premature failure. This guide outlines the seven essential steps operators should follow to keep their laser optics in peak condition.
1. Inspect the Focusing Lens for Debris
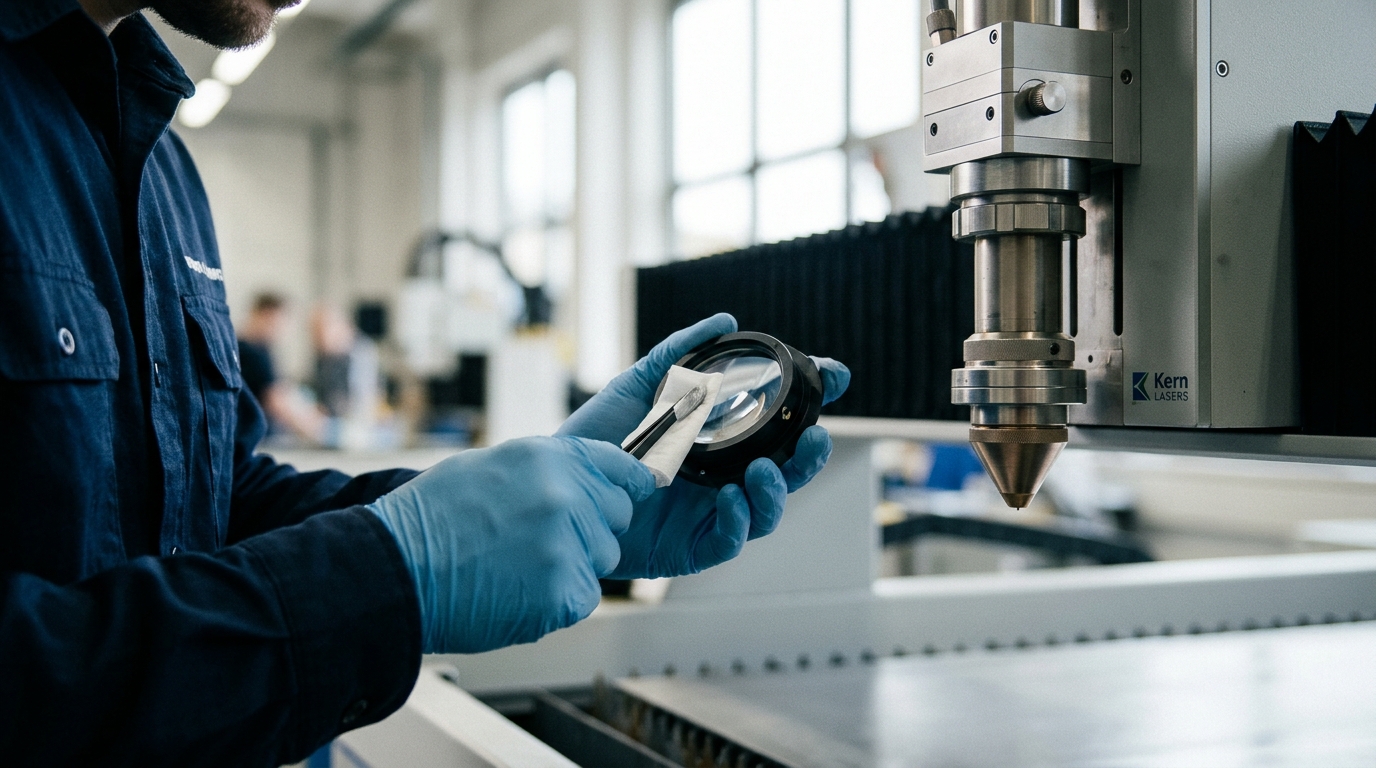
Visual inspection is the first line of defense against optical damage. The focusing lens, or F-lens, is the component closest to the workpiece and takes the most abuse during the cutting process. Before starting any production run, operators should visually inspect the lens for dust, smoke residue, or physical scratches. A dirty lens scatters the laser beam, leading to inconsistent cut quality and potential material damage. If you notice any visible debris, the lens must be cleaned immediately before proceeding.
2. Remove and Secure the Lens
Proper removal prevents accidental drops and contamination. Use the specific tool provided by the manufacturer to loosen the lens holder. Hold the lens by the edges or use a lens holder tool to avoid touching the optical surface with bare fingers. Oils from skin can permanently etch into the coating of the lens. Place the removed lens on a clean, soft surface such as a microfiber cloth or a dedicated lens tray to keep it safe while you clean the housing.
3. Clean the Lens with Approved Solvents
Use only manufacturer-approved solvents to avoid damaging optical coatings. Apply a small amount of isopropyl alcohol (IPA) or a specialized optical cleaning solution to a lint-free lens tissue or microfiber cloth. Gently wipe the lens in a circular motion from the center outward. Avoid using paper towels or rough cloths, as these can leave micro-scratches that degrade beam quality over time. For stubborn residue, a dedicated optical cleaning pen may be used, but always follow the specific guidelines for your laser model.
4. Inspect and Clean the Protective Window
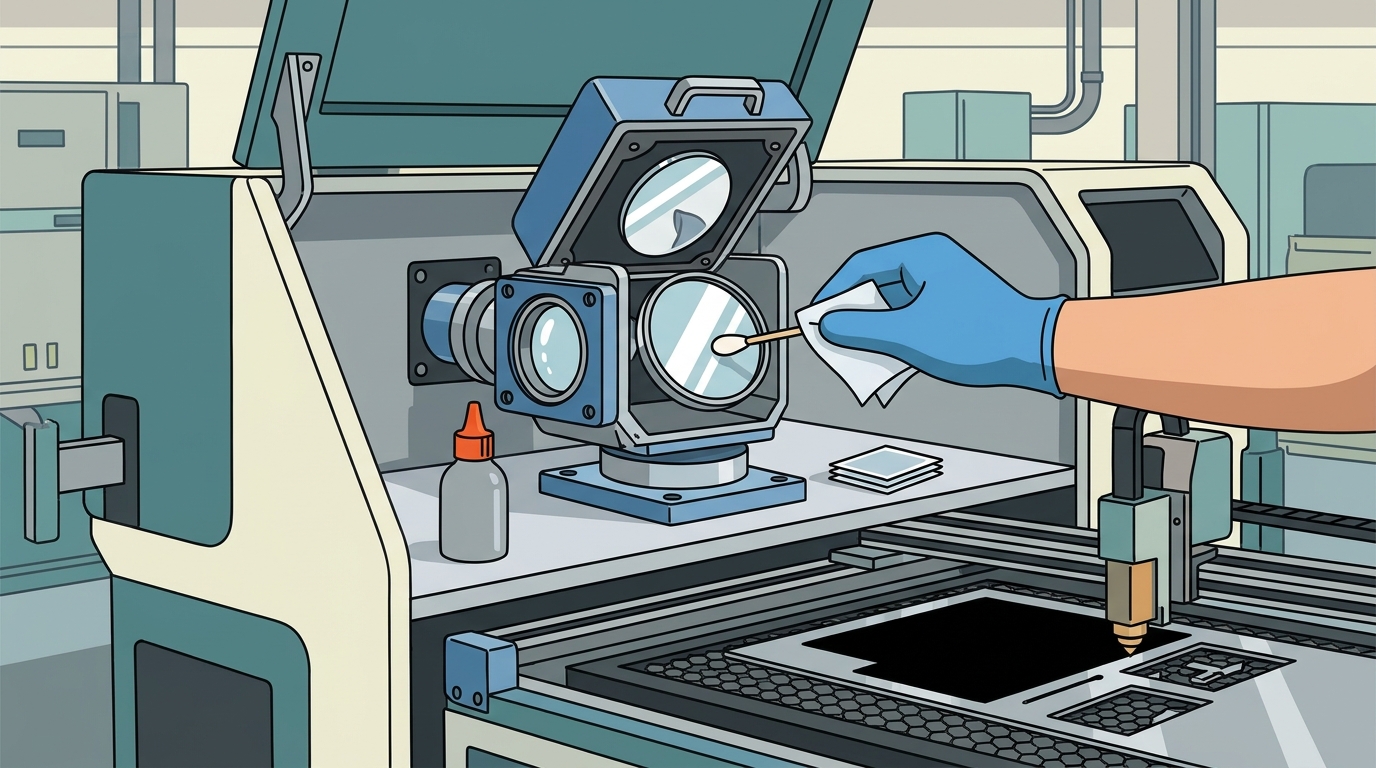
The protective window shields the internal optics from fumes and debris. Located inside the laser head or enclosure, the protective window can accumulate smoke and dust that blocks the laser beam. Inspect the window for any haze or buildup. If dirty, clean it using the same method as the focusing lens, ensuring no liquid drips into the internal mechanism. A clean protective window ensures that the full power of the laser reaches the focusing lens.
5. Check the Beam Path for Misalignment
Optical cleanliness is only effective if the beam path is properly aligned. While cleaning, take a moment to verify that the laser beam is centered in the nozzle and aligned with the optical axis. Misalignment can cause the beam to clip the nozzle or hit the sides of the lens, leading to rapid degradation. If you notice the beam is off-center, consult your alignment procedure or contact technical support. Proper alignment ensures that the laser energy is focused precisely where it is needed.
6. Clean the Nozzle and Assist Gas Port
The nozzle and assist gas port must be free of spatter and blockages. During metal cutting, molten spatter can accumulate on the nozzle, restricting the flow of assist gas. Use a soft brush or compressed air to gently remove any debris from the nozzle opening. Ensure the assist gas port is clear to allow for proper cooling and cutting efficiency. A blocked nozzle can lead to poor cut quality and potential damage to the lens.
7. Document the Maintenance
Recording daily maintenance creates a reliable history for troubleshooting. Keep a log of when each optical component was cleaned and any issues observed. This documentation helps identify patterns, such as a lens that degrades faster than expected, which may indicate a need for replacement or a change in operating parameters. At Kern Lasers, we recommend that operators maintain a simple daily checklist to ensure no step is missed. This habit builds a culture of precision and accountability in the workshop.
Choosing the Right Cleaning Routine
Select the cleaning frequency based on the material being processed. For non-metallic materials like acrylic or wood, a quick visual inspection and light wipe-down may suffice. For metal cutting, a full cleaning of the lens, window, and nozzle is required after every shift. Always prioritize the manufacturer's recommendations for your specific laser model to ensure optimal performance and longevity.
Frequently Asked Questions
How often should I clean my laser cutter optics?
Daily cleaning is recommended for all laser cutters, especially those used for metal fabrication. For non-metallic materials, a visual inspection and light cleaning may be sufficient, but a full clean should be performed at least once a week.
What should I use to clean laser optics?
Use only lint-free microfiber cloths or lens tissues and manufacturer-approved solvents such as isopropyl alcohol. Avoid paper towels, household cleaners, or compressed air directly on the lens, as these can cause scratches or leave residues.
Can I clean the lens while the laser is on?
No, never clean the lens while the laser is active. Always turn off the laser and wait for the system to cool down before performing any maintenance. This ensures your safety and prevents damage to the equipment.
How do I know if my lens is damaged?
Does Kern Lasers provide cleaning kits?
Yes, Kern Lasers provides maintenance kits and guidelines with our systems. These kits include the necessary tools and solvents to keep your optics in top condition.